Your Turnitin guidance is moving!
We’re migrating our content to a new guides site. We plan to fully launch this new site in July. We are making changes to our structure that will help with discoverability and content searching. You can preview the new site now. To help you get up to speed with the new guidance structure, please visit our orientation page .

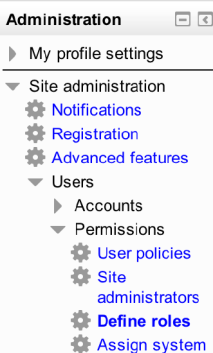
- To create a new role, click Add a new role beneath the Role Table.

- On this page, you can use a role or archetype as a template for the role you are creating, or you can upload a preset. Doing nothing here will create a blank role for you to configure. Click Continue to move to the next step, or Cancel to abort the process.
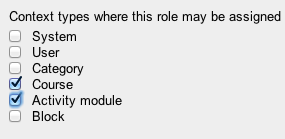
- Set up the role as you would like it by adding a short name and full name to the role that will make sense for your work flow. The Context types for the role should be set to Course and Activity Module.
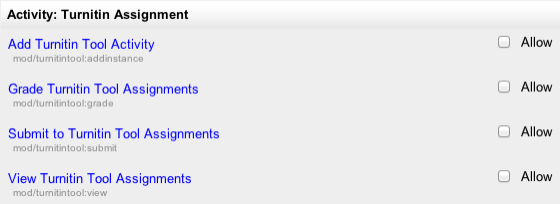
- Select the rest of the settings, where appropriate, until you reach Activity: Turnitin Assignment.

Teacher
Settings for a teacher, or anyone who you want to be able to grade student work, should be set as shown in the table below.
| Add Turnitin Tool Activity | Allow |
| Grade Turnitin Tool Assignments | Allow |
| Read Turnitin Tool Assignments | Allow |
| Submit Turnitin Tool Assignments | Don't set (optional) |
| View Turnitin Tool Assignments | Allow |
Once you have finished configuring settings for this role click 'Create this Role' at the bottom of the page.
Student
Settings for a student should be set as shown in the table below
| Add Turnitin Tool Activity | Don't set |
| Grade Turnitin Tool Assignments | Don't set |
| Read Turnitin Tool Assignments | Allow |
| Submit Turnitin Tool Assignments | Allow |
| View Turnitin Tool Assignments | Allow |
Once you have finished configuring settings for this role click 'Create this Role' at the bottom of the page.
Was this page helpful?
We're sorry to hear that.

