Your Turnitin guidance is moving!
We’re migrating our content to a new guides site. We plan to fully launch this new site in July. We are making changes to our structure that will help with discoverability and content searching. You can preview the new site now. To help you get up to speed with the new guidance structure, please visit our orientation page .
- Access the QuickMark Manager from the in-context marking tool or QuickMarks side panel, as detailed in guidance for Accessing the QuickMark Manager.
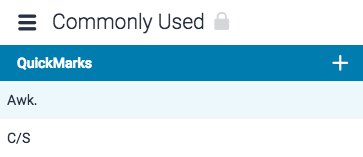
- Click the menu icon in the top left-hand corner of the QuickMark Manager. This can be found next to the set title.
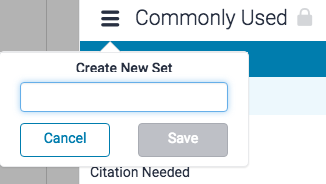
- Click Create new set.

- Enter a title for the QuickMark set in the text box, and then click Save. Alternatively, click Cancel to select another item from the menu.
Creating a new QuickMark set using existing QuickMarks
- Access the QuickMark Manager from the in-context marking tool or QuickMarks side panel, as detailed in guidance for Accessing the QuickMark Manager.
-
- If you'd like to add multiple QuickMark(s) to your new set, hold the Ctrl key (Cmd on Mac) to select multiple marks, then select the + Add to Set button.
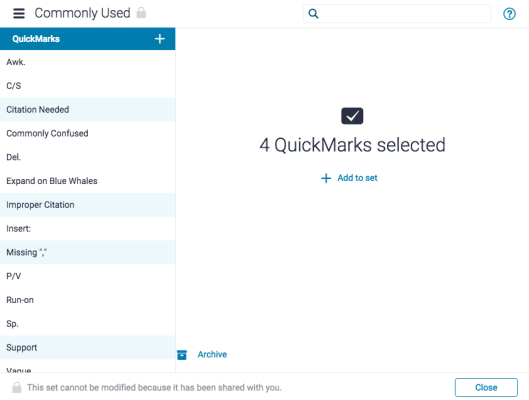
- Alternatively, you can click on any single mark and then click + Add to set.
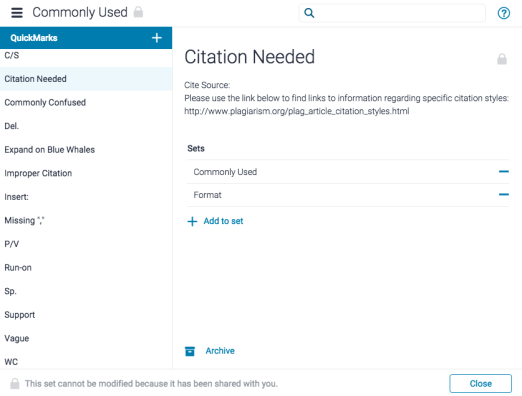
- If you'd like to add multiple QuickMark(s) to your new set, hold the Ctrl key (Cmd on Mac) to select multiple marks, then select the + Add to Set button.
- Click Create new set.
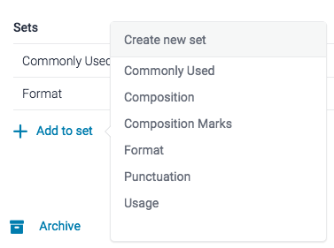
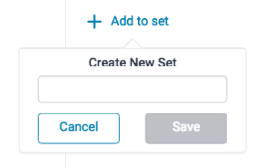
- Add a title for the new set in the text box provided. Click Saveto create the set.
Thank you! Your feedback will help us to improve this guide.
Was this page helpful?
We're sorry to hear that.
