Your iThenticate/Crossref Similarirty Check guidance is moving!
We’re migrating our content to a new guides site. We plan to fully launch this new site later in July. You can preview the new site now. To help you get up to speed with the new guidance structure, please visit our orientation page .
Groups allow you to group together users from your account. Principal Users in your account will then be able to share files and folders with groups to help facilitate collaboration.
Once added to a group, a user will gain access to files and folders already shared with this group.
If removed from a group, the user will lose access to the files and folders shared in that group.
Create a group
To create a group, go to the Groups tab in the side menu.
If you have yet to create a group, there will be an option to create one in the center of the page. Select + Create Group to open the group creation modal.
If you already have groups, then select the + Create Group button at the top of the page.
Enter the group name and then add members by typing their name or email address in the Add Members box.
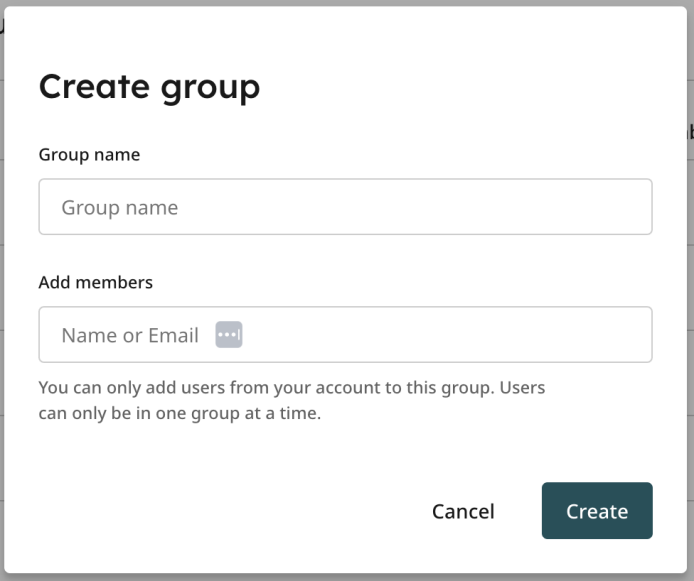
Once you start typing a name or an email, a dropdown with all matching users will appear.
You can only add users from your account to a group.
If a user is already in another group, adding them to a different group will remove them from the group they are currently in.
Once you have named your group and selected the users you wish to add to it, select Create to create this group.
Managing groups
Once a group has been created it will appear in the Groups area. The groups are ordered alphabetically.
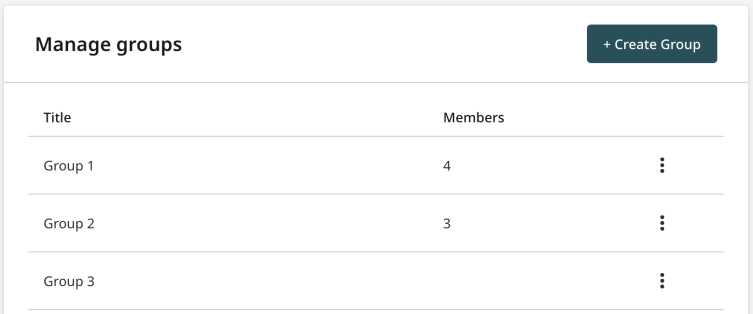
To change the name of a group, add more members, or delete the group, select the three dots to the right of the group in the list.
Select Manage Group to open the manage group modal.
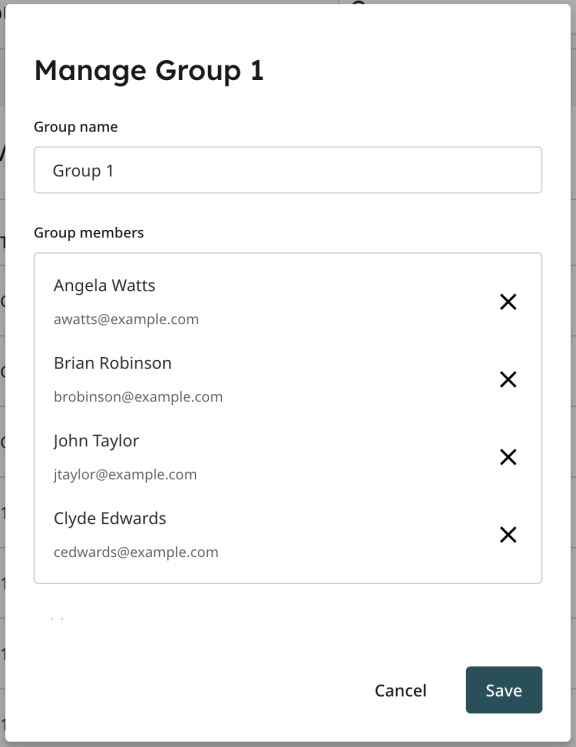
Rename the group by modifying the name in the Group Name text box.
Remove existing members from the group by selecting the X to the right of their name in the members list.
Add new members by selecting Add Members.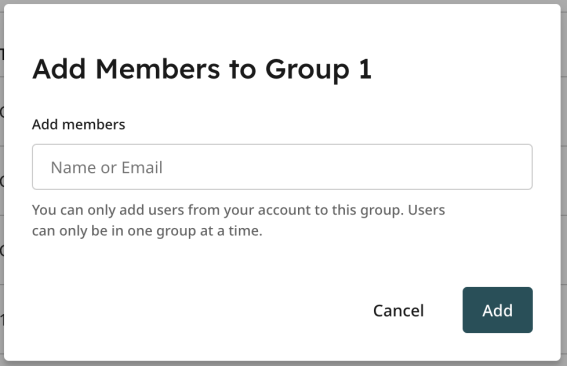
Enter the names or emails of the users you would like to add to this group.
You can also add users to a group from the main Groups area by selecting the three dots to the right of the group name and selecting Add Members from the menu.
A user may only be a member of one group at a time. If a user is already a member of a group and you attempt to add them to another group, you will be alerted to the fact this member is already in a group.
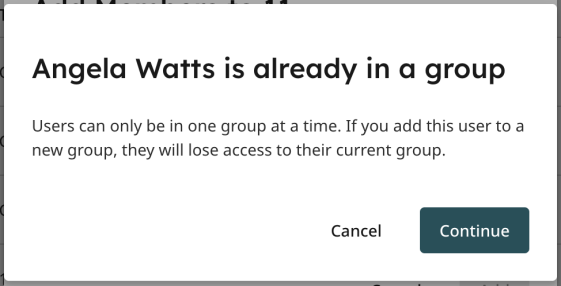
Select Continue to remove the user from their current group and add them to the new one. Alternatively, select Cancel and the user will remain in the group they are currently in.
Delete a group
To delete a group, select the three dots to the right of the group name in the main Groups area and select Delete Group from the menu. This will open the delete group modal.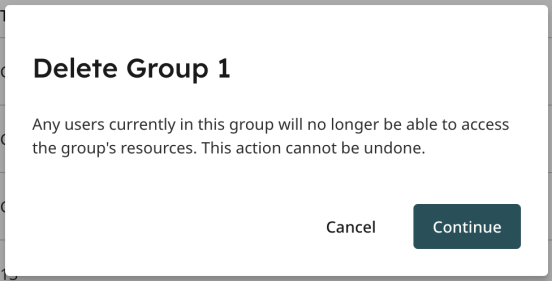
You will be given the opportunity to cancel this action. Once deleted, any users who were members of this group will no longer be able to access the resources that were shared within this group. The action cannot be undone.
Select Continue to delete the group.
Was this page helpful?
We're sorry to hear that
If you have the time, we'd love to know how we could improve it.
The guide
